Export To DNG and Render To DNG. Both of these commands are only three words long and with such similar names, you could easily assume that these two options do the same thing. But they do not, and the difference between them matters.
Click here to download the examples in this video and play along! (Subscribers Only)
One of these commands keeps your photo raw. Every setting remains fully adjustable, and the file that Lightroom creates contains every bit of information that came out of your camera. The other command does not. Before using either one, it is worth understanding exactly what each does, and when one makes more sense than the other.
What Export To DNG Actually Does
The Export To DNG command tells Lightroom to create a separate DNG file for use outside of your Catalog. This file contains every pixel that your camera originally captured, including all of the raw mosaic data plus every edit you have made in Lightroom, stored in a fully adjustable format.
When you use the Export To DNG command, the new file extension changes from a camera-specific format such as .CR3, .ARW, or .NEF to .DNG, but the file itself is still one hundred percent raw.
Export To DNG creates a copy of your original image in a more universal format without changing what that raw data can do.
What Render To DNG Actually Does
Despite the similar name, Render To DNG is a different command with entirely different results. Activating Render To DNG tells Lightroom to create another version of the selected image, but this time the results are added automatically into your Lightroom Library rather than being exported outside the Catalog.
The biggest difference, though, is that Render To DNG actually produces a flattened, TIFF-like image, concealed inside the DNG wrapper. The images that the Render To DNG command creates no longer contain the original raw mosaic data.
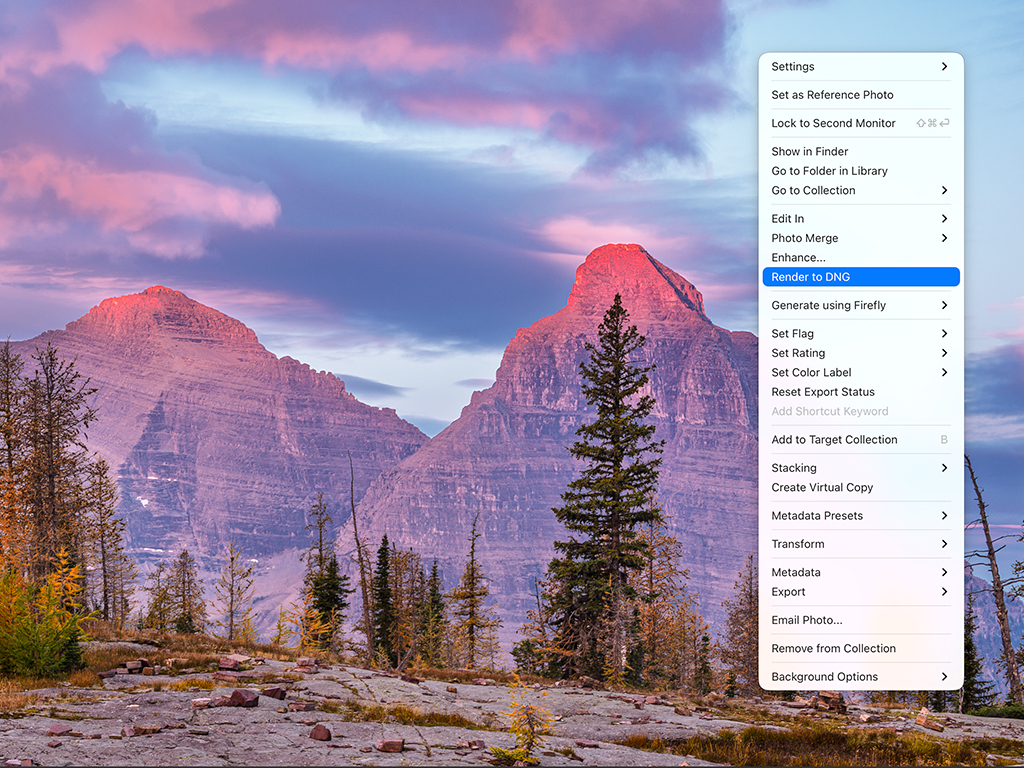
This does not put the original file at risk. Creating a rendered DNG copy does not erase or alter the original capture in any way. Your original raw file remains exactly as it was, untouched and fully adjustable, but the rendered version is not as flexible.
Why This Matters: Denoise And Super Resolution Together
Understanding the difference between these two commands is not simply an academic exercise. Render To DNG solves a real problem in Lightroom Classic.
In its current form, you can use Lightroom’s AI-powered Denoise command to clean up your image or you can use the AI-powered Super Resolution command to double your image’s width and height. But you cannot use both of these tools on the same raw original. Render To DNG sidesteps this limitation!
Once every other edit on the raw file, including Denoise, has been perfected, running Render To DNG creates a new, non-raw copy with all of that work baked in. Because the rendered file is no longer raw, Super Resolution is no longer blocked. Using this routine, you can perfect your original raw image and remove all the noise, then double the rendered version’s width and height using all of Adobe’s cutting-edge tools.
It is true that the rendered version does not have the same color flexibility as the original raw file, but by this point in an advanced workflow, that kind of editing is no longer needed. The order of operations is what makes this work: finish every adjustment that depends on raw data first, then use the Render command so that you can also apply Super Resolution to the copy.
Experimenting With Develop Presets
There is a second, more everyday situation where Render To DNG is worth reaching for.
Imagine a raw file that has already had significant work done to it: careful adjustments across multiple sliders, arriving at a result the photographer is genuinely pleased with. At that point, it can be tempting to try a Develop Preset on top of that work, just to see how it looks.
The problem is that Lightroom’s Develop Presets overwrite your existing slider values. Applying a Preset to a finished raw edit can change Develop settings that you did not want to change.
Render To DNG offers a way around this. Rather than applying the Preset directly to your raw file, use the Render To DNG command to create a new copy with all of your existing edits baked in. Now you can experiment with a Preset on the rendered copy without altering your original image.
Which Command Should You Use?
The distinction comes down to workflow.
Export To DNG makes sense when a portable copy of the raw data is needed for use outside of Lightroom, such as sending a file off to another photographer. Render To DNG is the better choice when you need to apply multiple AI edits that Lightroom Classic would not otherwise allow, or to layer a Preset on top of your finished work.
As long as you keep the order of operations correct in your workflow, then there is no confusion and no reason to fear either command.