![]() Learn how to use the Apple Photos to Adobe Lightroom (Cloud-Based) Migration Utility in this in-depth video tutorial. If you are someone who is switching to Adobe Lightroom from Apple Photos then this tutorial is for you.
Learn how to use the Apple Photos to Adobe Lightroom (Cloud-Based) Migration Utility in this in-depth video tutorial. If you are someone who is switching to Adobe Lightroom from Apple Photos then this tutorial is for you.
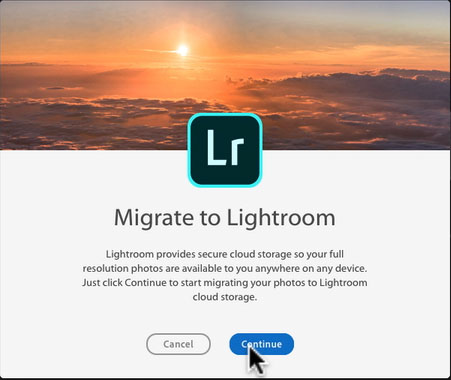
Migrating your photos from your Apple Photos Library over to Adobe Lightroom (Cloud-Based) using this Migration utility is fairly straightforward but there are some important steps that you must follow in order to successfully complete this process. Using this tool ensures that full-resolution copies of all of the images that you are currently storing inside of your Apple Photos Library will get uploaded to your Adobe Creative Cloud storage account for you. If you skip any of the important steps at the start of this video then you might not get a copy of all of your images from Apple Photos into your online Lightroom storage account.
The Apple Photos to Adobe Lightroom Migration utility lives at the bottom of the File Menu on a Mac. This is an easy feature to find but you need to do a little bit of housekeeping inside of Apple Photos before you launch this utility. The most important task, which you must complete before you begin the migration process, is to make sure that you are actually storing all of your original images inside of your computer and not just on Apple’s iCloud servers.
There are additional steps required in this process if you have worked on a lot of raw files inside of the Apple Photos App or if you there are specific frames from your iPhone’s Burst Mode shots that you want to preserve. I cover the steps required to preserve these additional frames from Burst Mode shots at the beginning of this video and I explain what to do with your edited raw files at the end. Neither of these steps are mandatory but they are helpful if you want to bring everything that you possibly can over from Apple Photos to Lightroom.